Showing posts with label book reviews. Show all posts

Friday, August 26, 2016

Winter wreath progress

Add another small woven wheel rose

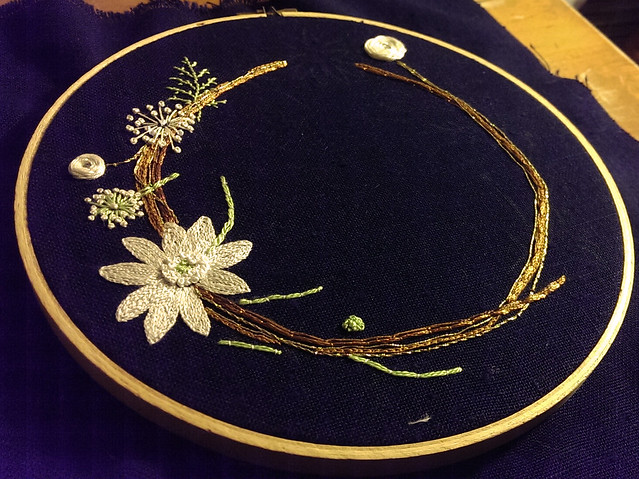
I'm having a great time progressing on this project - I'm embroidering a version of The Winter Wreath from Kazuko Aoki's book, The Embroidered Garden.

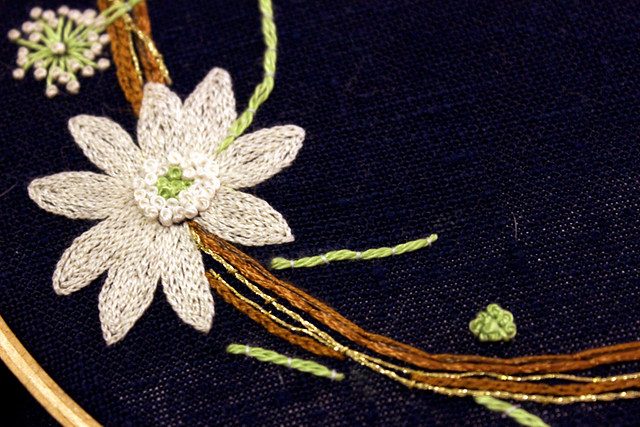
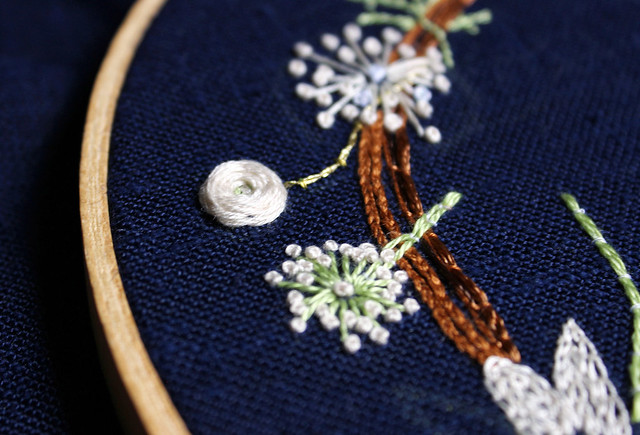
Detail on large white flower

Up above is a closeup of one of the large white flowers. It's all done in split stitch, which is very-time consuming, but I do like the texture. Oh, and tons of little french knots in the center. The stems are two strands of vintage Nun's Boilproof floss, couched with a thin white sewing thread.

Closeup of tiny white rose

Here's a small woven wheel rose, and the round flowers made up of french knots - shall we call them dandelions? I'm least confident about my stitching on those, but we'll see how it progresses...

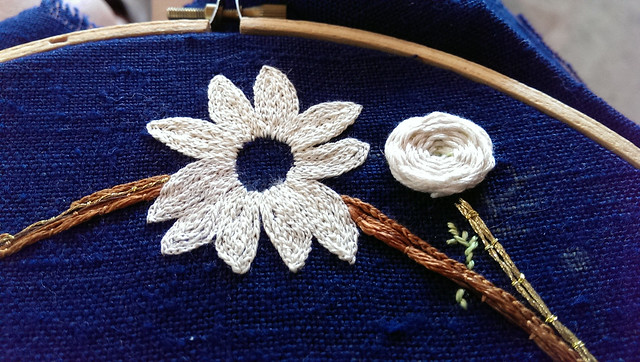
Closeup on the large white flowers

Another large white flower and a large woven wheel rose. The rose stems are couched gold DMC embroidery floss.

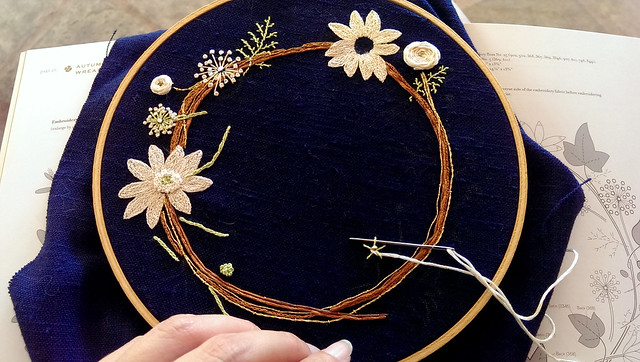
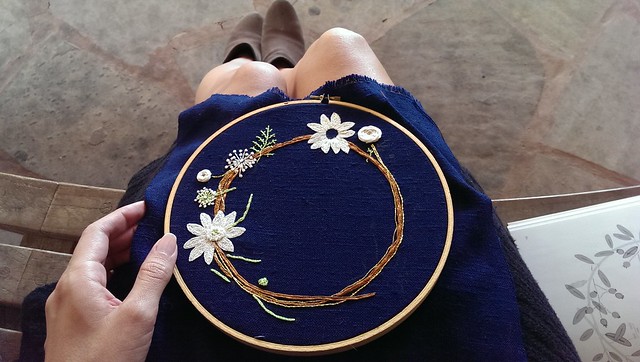
embroidering outdoors

I took this project outside and was delighted by how much better it looks in the light - it really captures the detail more.

I opened an Instagram account of my own this week - follow me @nyfloresita if you like! I also post on the Feeling Stitchy account to promote Feeling Stitchy blog posts, and Amy posts on Fridays.

A photo posted by floresita (@nyfloresita) on


There's such a wonderful community of stitchers on Instagram, and Flickr has really slowed down in terms of finding new stitching online. For now, I'll be maintaining both accounts, and we'll see what the future will bring!

Monday, August 22, 2016

Planning a book review

Planning a book review for Feeling Stitchy

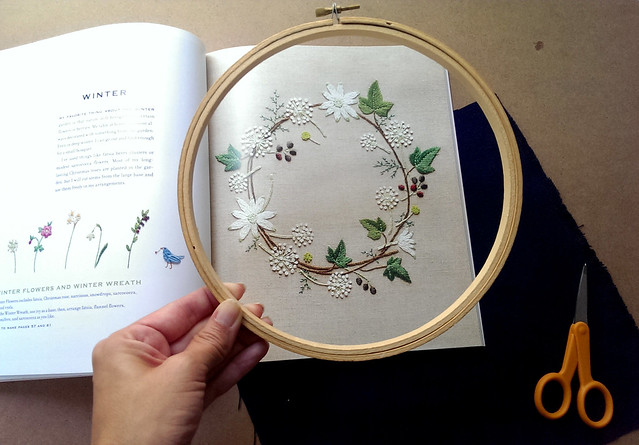
I've been remiss in doing a book review for Feeling Stitchy for a gorgeous book by Kazuko Aoki, The Embroidered Garden. I received the book some time ago from the publisher, and I finally got to work this weekend, gathering materials, and doing some planning and stitching. I chose the "Winter" wreath, which I intend to interpret freely, choosing my own fabrics and threads.

By the way, the book link takes you to Amazon, and contains code for the Feeling Stitchy Amazon account - if you buy a book through that link, we receive money in our account which is used to fund more giveaways and reviews on Feeling Stitchy. If you do buy there, thank you! If not, no worries! :)

Step 1: fabric and hoop

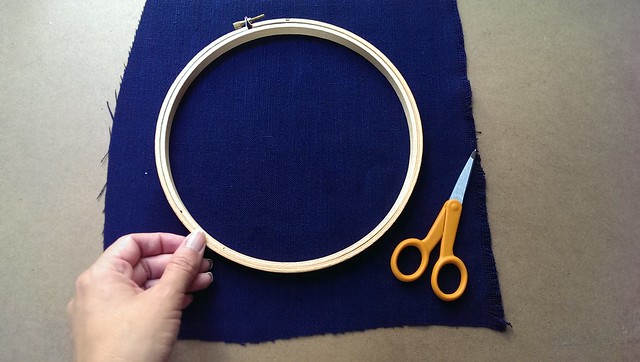
My first step was choosing a fabric - and I was delighted to find a beautiful navy blue linen in my mother's fabric stash. I loved the idea of a strong contrast with the white flowers.

gathering threads

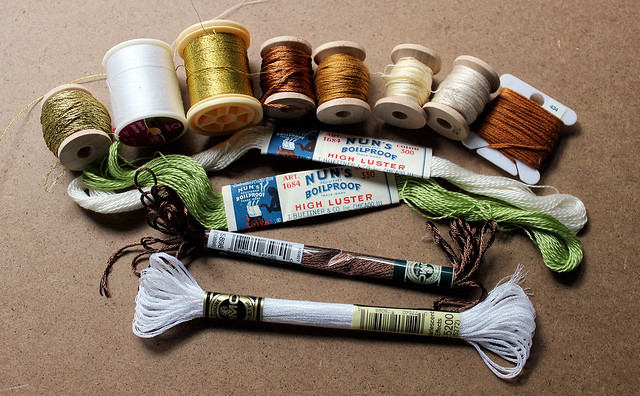
Next, I chose a handful of threads - my goal in this project is to buy nothing new, and use up some of my prodigious thread stash. :)

The final project will be a wedding gift, so I wanted to work in the wedding colors, one of which is gold. I had some beautiful DMC gold thread and gold metallic floss. I also had two skeins of super-shiny DMC rayon floss in a copper and darker brown shade that I wanted to use. Added to that were some off-white shades of 6 strand DMC floss, and some vintage threads I was gifted YEARS ago. :)

pretty texture

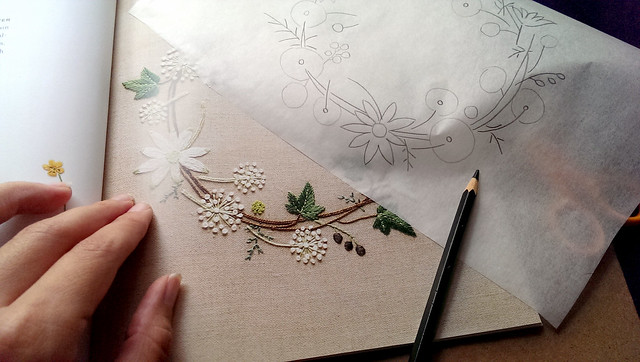
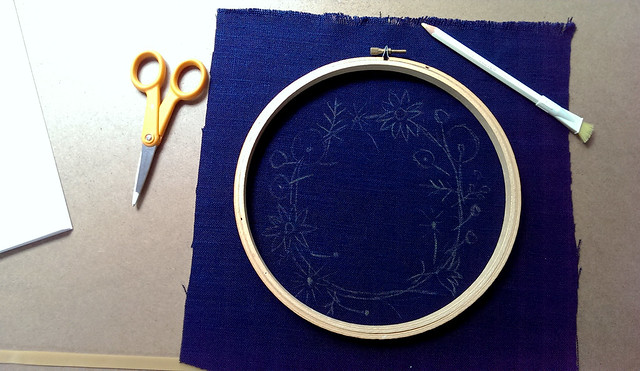
I traced the image directly from the photo in the book. I didn't focus on details, but just a general idea, and replaced the large green ivy leaves with circles for white roses.

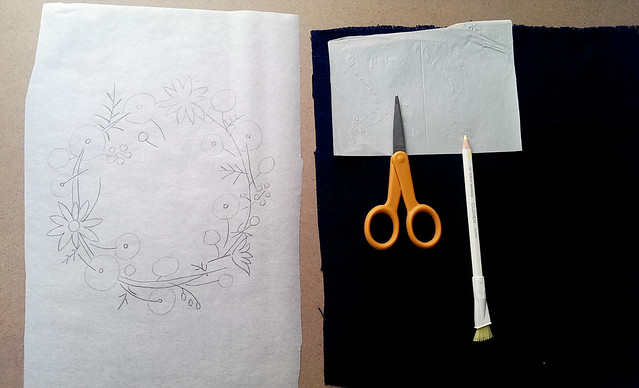
Next step: using white carbon paper and chalk pencil to transfer

Once I had my finished design, I used white carbon paper to transfer the image. The resulting image was very faint, so I traced over the white lines in a yellow Clover chalk pencil.

re-tracing over pattern

I first stitched the branches with a combination of regular DMC floss, and couched lines of rayon floss, which gave the branches a really pretty sheen in the light.

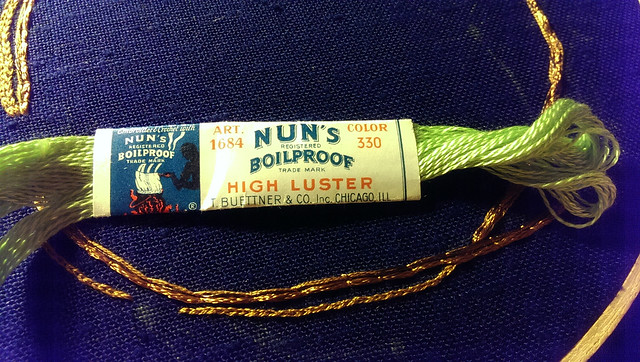
Interesting vintage thread

I was fascinated by the two Nun's Boilproof skeins I had - they look like a very thin perle cotton, but are SO very soft to the touch. They piqued my curiosity and I found this blog post about them.

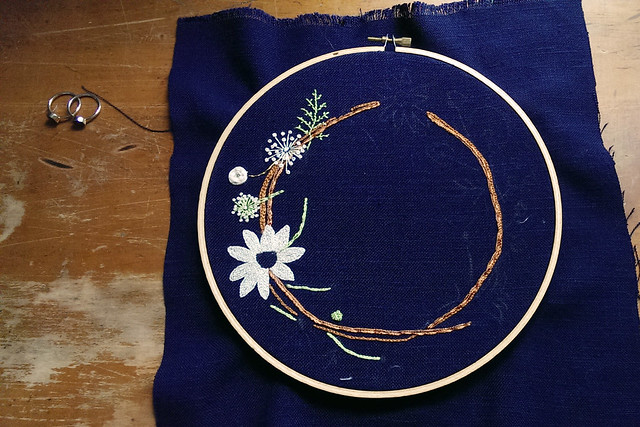
After split stitch on large flower

Here it was after at least 12 hours of stitching. The filling for the large white flower was the most time-consuming - tiny split stitch, using 3 strands of floss, but it was worth it - the texture is so nice!

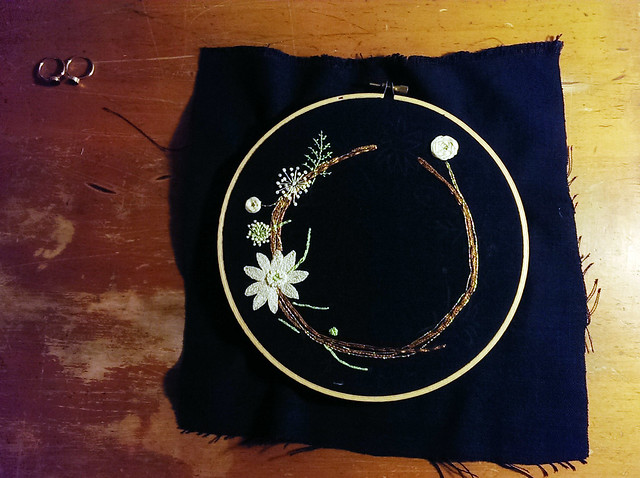
later progress

Next, I added french knots to the center of the large white flower, a large white rose, gold stems for the roses, and couched gold strands throughout the branches.

Here's a sideview of the work so far, which shows off the rayon threads and texture pretty nicely:

detail view of my progress

This project was slow to start, and a little intimidating, but I am enjoying it so far! What do you think?

Saturday, February 14, 2015

Stitching Saturday: Makin' dolls process

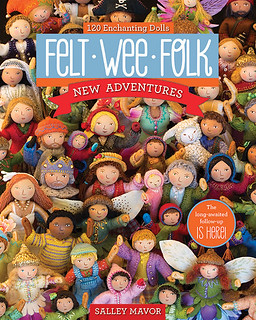
Felt Wee Folk by Salley MavorThere's a great giveaway on Feeling Stitchy for Felt Wee Folk: New Adventures - and I spent about a month prepping for it! I don't usually spend such a long time making items for a review - in truth, my time is so limited that I can usually only squeeze out 1 project per book.

This book, however, has a very special magic to it - I don't know what to call it but that special something that makes you want to craft and craft. I first learned about Salley Mavor when reviewing her previous book, and she was kind enough to do an interview on her process then.

What fascinated me about Salley's method was the length of time her projects take - literally years to complete! So I guess I shouldn't have been surprised at how time-consuming these fabulous little doll projects were... I kept my review for Feeling Stitchy as brief as I could, but here's a little more background on my process.

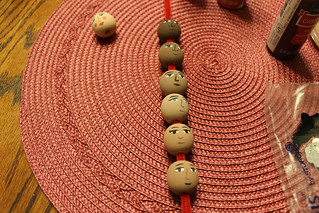
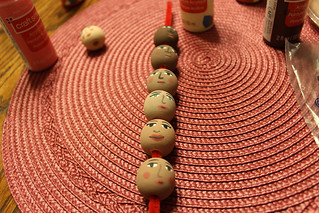
I started my project by purchasing unfinished wooden beads for the heads, and painting them a nice range of flesh tones. The hardest part of this step for me was brush control - I stink at it. But I actually liked the organic, messy quality of the faces I painted.

I chose the largest wooden beads I could find at the craft store - at 1 in. they were larger than Salley's largest doll heads in the book. Even then, the surface area to paint on was TINY, as you can see from my giganti-hand:
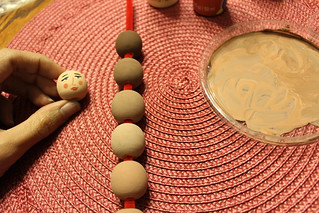
starting out - painting wooden beads in flesh tones painting whites of the eyes
little faces: check! little faces: rosy cheeks and lips

My next step was bending and wrapping the pipe cleaner bodies with embroidery floss - sheesh - this part took forever. Do I have any obsessive floss winders in the house? The ones who wind, unwind, and rewind their floss on the little plastic bobbins until it lies perfectly flat? YOU FEEL MY PAIN. ;)

I had to just let go and accept lumpiness, club-footedness, and general imperfection in my projects:
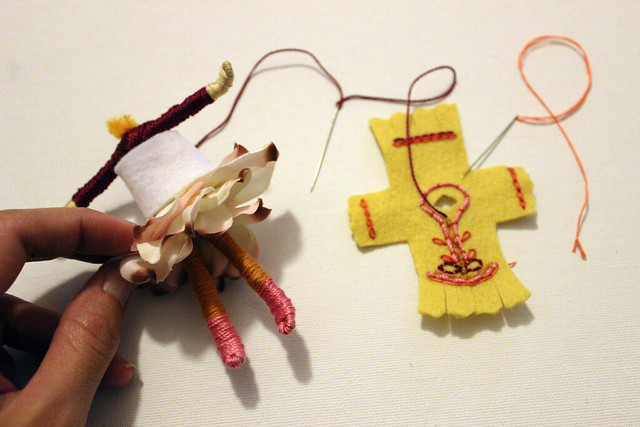
putting together

Of course I'm not showing you the imperfect ones, just my as-perfect-as-I-could-get-it ones. :)
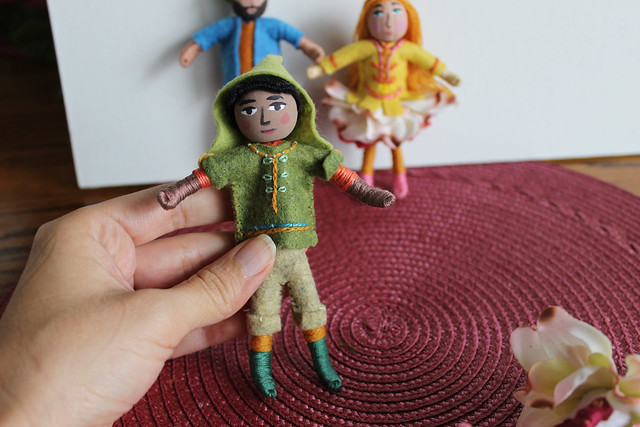
teeny man with hair and hood completed

Next up was cutting the clothing and embroidering it, which I probably loved most. I did a lot of thread couching, really enjoying the look of crewel wool, metallic flosses, and golden seed beads.

I also have to reiterate that you try to use wool felt - I bought 2 nice wool blend bundles from BenzieDesign - the MmmCrafts Curated stack and a nice Heathered Collection. It made such a huge difference in terms of cutting finely detailed edges - until you've tried it, you'll never understand how different it is from the cheap synthetic felt at the craft store!

So, here's a few of the dolls I made - the Robin Hood girl in green was one of my first. Her clothes were made with acrylic felt, which was just "ok" in terms of quality. I love her hair and hat. The Harvest Woman next to her was also made with acrylic felt - I'm proudest of her curly loopy bangs and double buns.
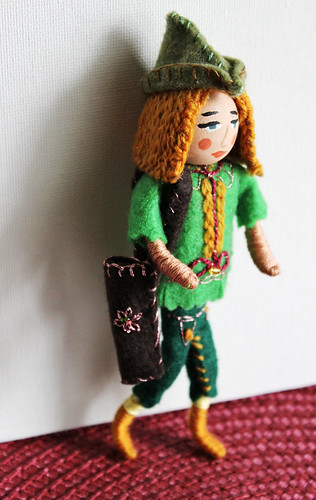
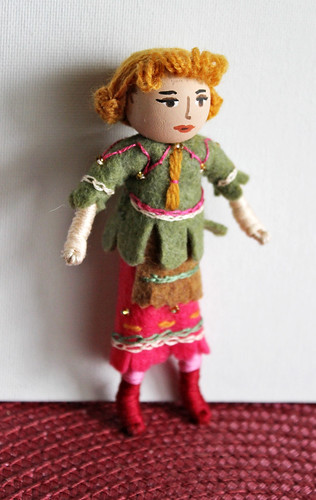
Robin hood girl harvest woman

Next up is purple Beret girl, with a painted acorn cap. Her top is in acrylic felt and her skirt is made of the wool blend felt. I really love the sassy beret girl in green - her black hair was made from pearl cotton and her green dress from wool blend felt.
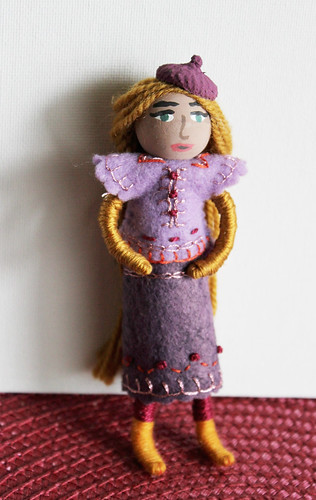
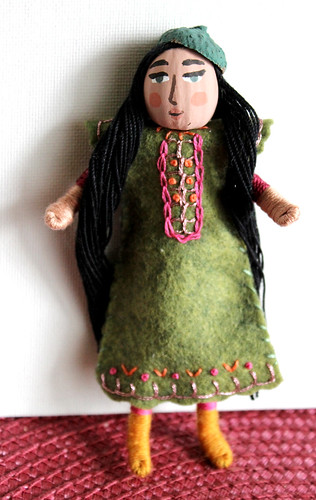
beret girl sassy beret girl

But I have to say my personal favorite is this flower fairy girl I made for my niece:
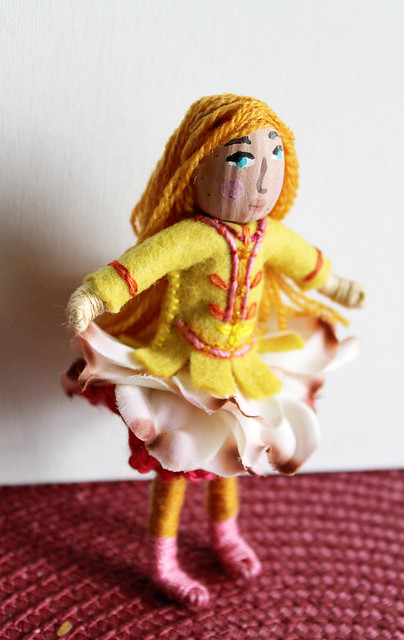
flower girl

At this point I had shifted to using the entire acorn as a head, which explains the slight vertical ridges on her face. But it seems like a nicer, more organic shape than the perfectly rounded wooden beads.

Here's a close-up view of the acorn head:
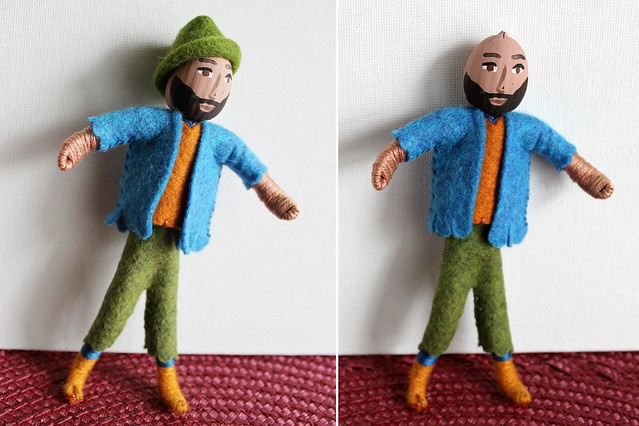
acorn head fedora man

His outfit was completely unembellished but I loved it just the same - I think it's the wool fedora that makes it. :)

I made a pink-haired flower girl, over on the right, but I'm not a fan of her lumpy arms:
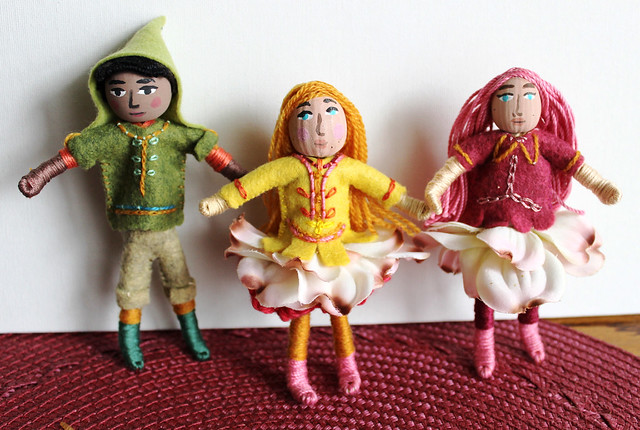
little dolls

I also enjoyed making the simpler projects for kids with my 10 year old niece - they were quick and easy, like this acorn fairy:
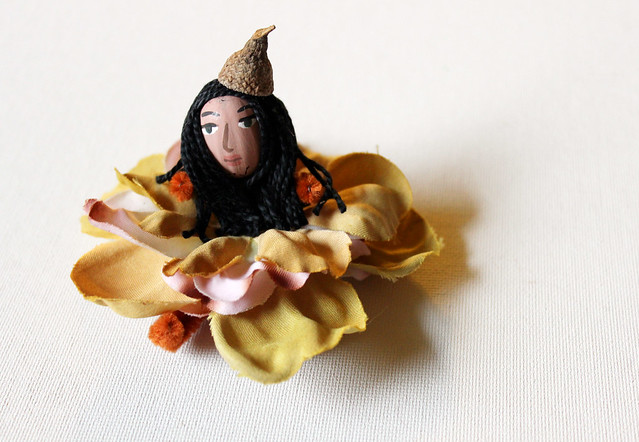
little acorn fairy

This was the first iteration of blonde flower girl and fedora guy, as a simple project for kids:
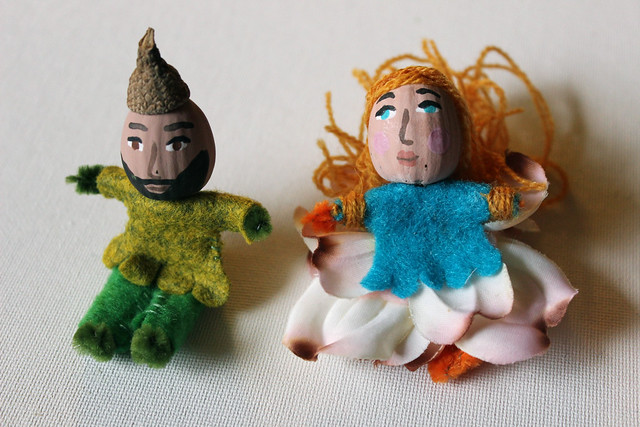
more tiny dolls

SO, I think I have fully summarized what a blast I had making these dolls. Super time-consuming and very detailed work, but strangely addictive and enjoyable fun!

You have until Friday, 5 PM if you'd like to enter the giveaway on Feeling Stitchy - I definitely recommend this magical book!