Showing posts with label winter wreath. Show all posts

Wednesday, September 28, 2016

Finished winter wreath

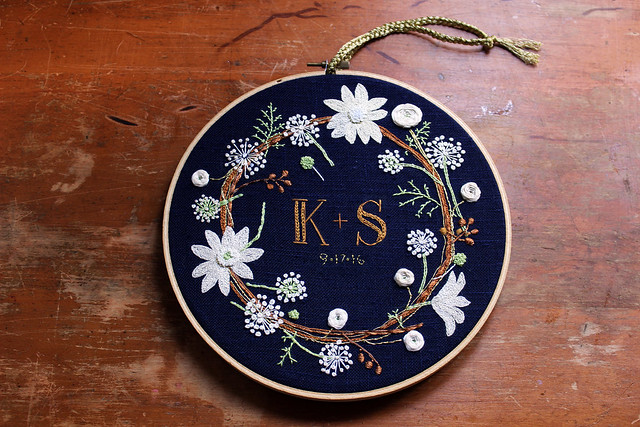
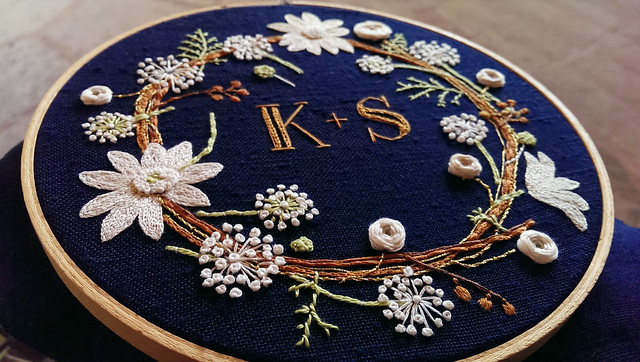
finished

After many hours of stitching and imagining and re-tracing, I am done! This project was one of the most fun I've ever attempted - I think part of it was all the encouragement I received on Instagram that kept me plugging along week after week.

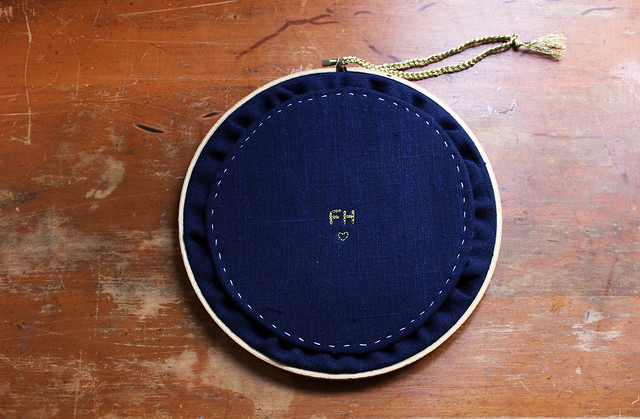
backside

I finished the back as neatly as possible, but I purposely made the stitches a bit long and loose, in case the back ever needs to be removed for repair or to re-stretch the embroidery.

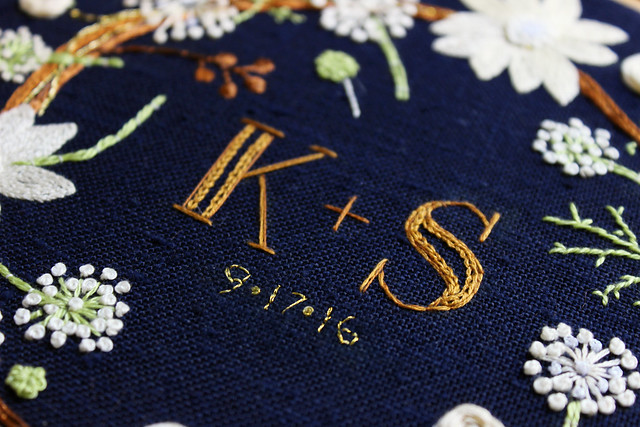
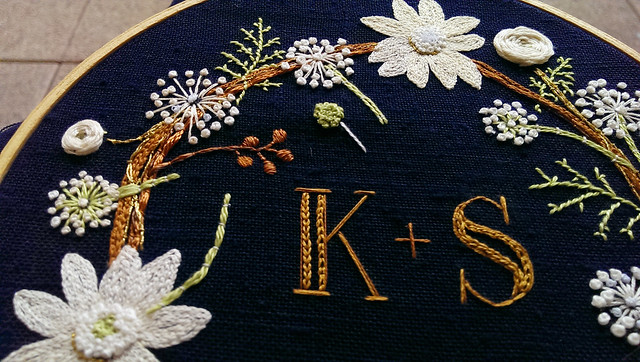
finished center

I won't lie, I struggled a bit with the tiny date - I re-stitched it countless times, but I like this simple, very small, un-fussy version. I used DMC gold thread, just one strand for the date.

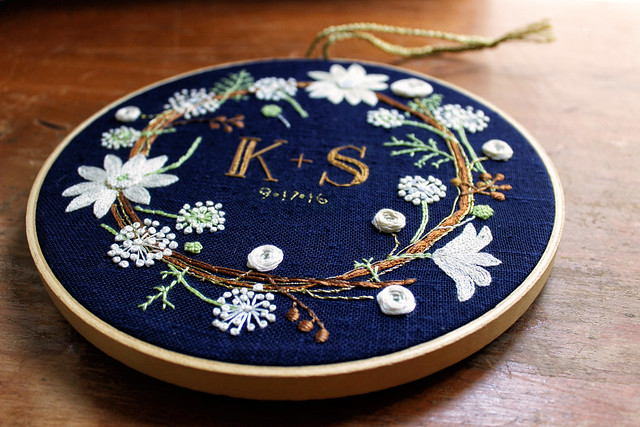
more details

Overall, this is one of the projects I am most happy with - a real pleasure to stitch. I expanded my stitch library and used stitches in ways I hadn't before - it was well worth the extra challenge. I'll have a review as soon as possible up on Feeling Stitchy - which I'll link to from here, of course, if you'd like to see it! :)

Friday, September 16, 2016

Winter wreath - almost finished

Almost finished

I'm almost finished and I have to say I am really happy with this project. Up above, you see my progress with adding initials in the center.

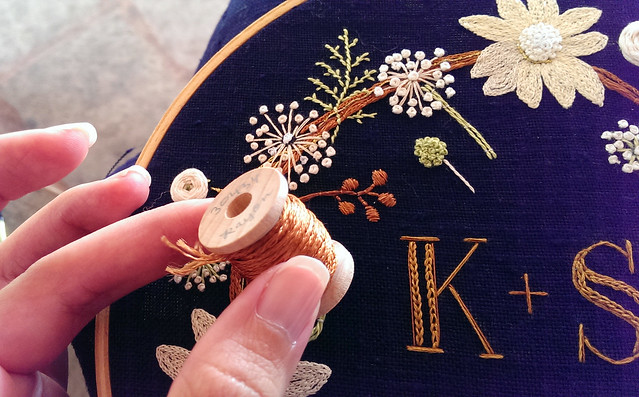
Stitching berry stems with rayon floss

I stitched the berries using 1 strand of DMC rayon floss in a shiny copper color - 30434 - Sepia Brown.

Closeup on berry stems

The finished berries - I love the sheen.

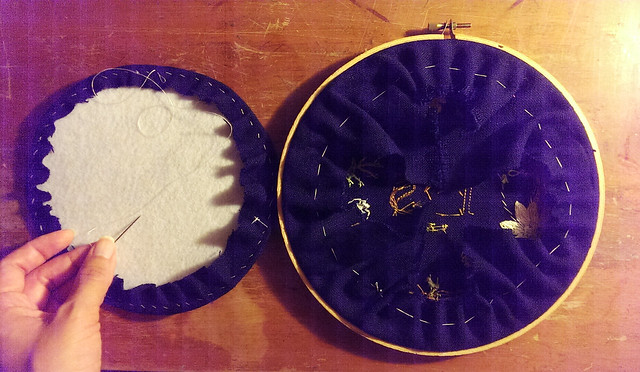
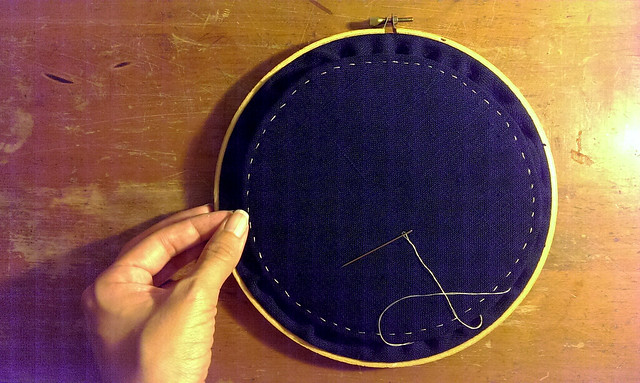
finishing the back

Next, I finished up the back - I drew up the excess linen in the back using a loose running stitch. Then I cut a circle of interfacing and stitched some navy linen onto it...

My idea for the finished back

Here's what I hope the finished back will look like - nice and neat!

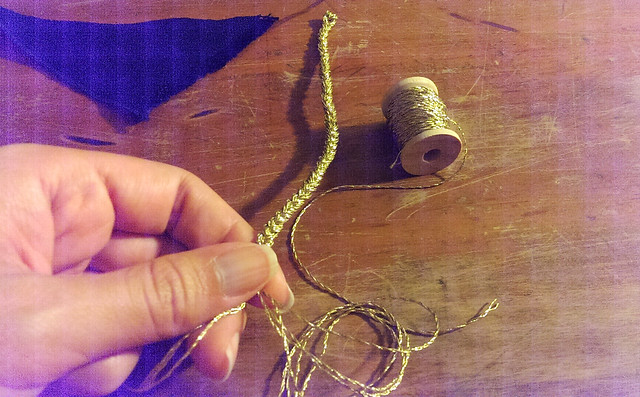
braiding gold floss

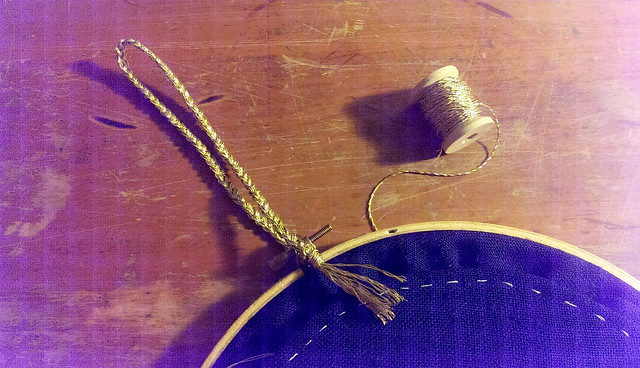
I braided some gold floss together to give the hoop something nice to hang from...

braided floss to hang the hoop with

Apologies for the last few photos, they were taken in the middle of some late-night crafting, and my cell camera is very odd in low light.

But there's my progress so far! I'll get some proper photos before I give the hoop away, and share those and a book review on Feeling Stitchy very soon!

Tuesday, August 30, 2016

Winter wreath - tracing paper and pearlescent floss

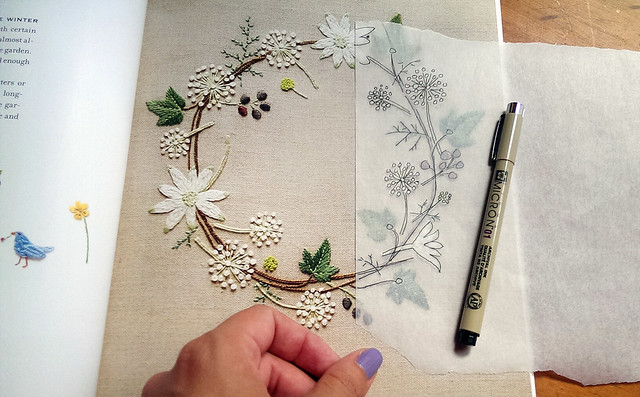
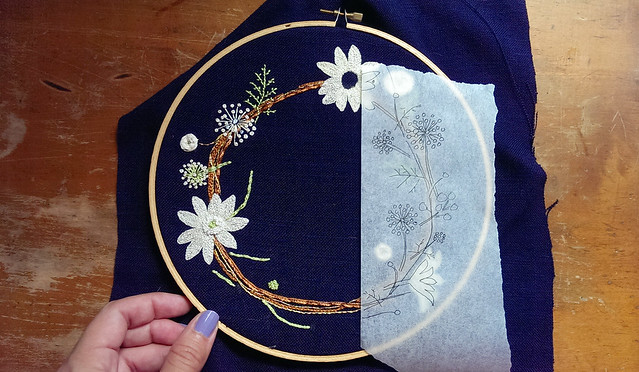
Using tracing paper and a micron pen

After all the chalk marks on my navy blue linen faded, I decided to try stitching on tracing paper.

I was curious to see how much I'd departed from the original - I'd just been eyeballing everything as I stitched...

Checking my progress

Looks like I make things bigger when eyeballing the pattern... I didn't stress, because I'm not aiming for an exact reproduction.

Stitching over tracing paper

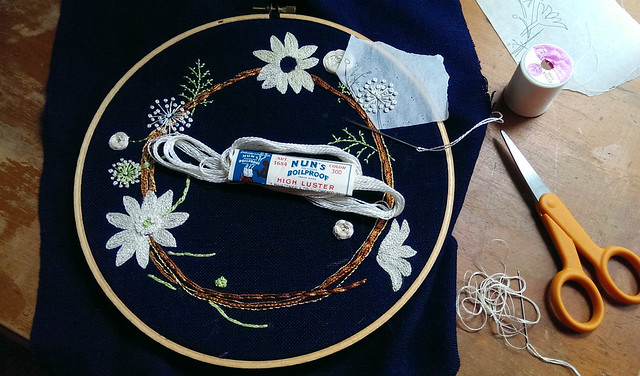
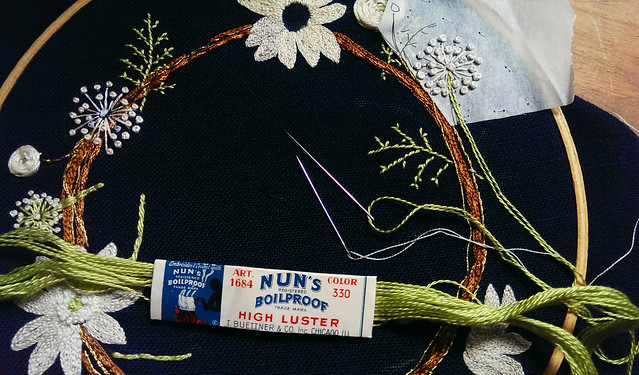
I stitched over the tracing paper on a big french knot dandelion - I was inspired by this great tutorial by Mary Corbet on Needle n Thread. By the way, I'm really enjoying stitching with that Nun's Boilproof vintage floss.

Couching the stems

Next I couched the dandelion stems, using more Nun's Boilproof vintage floss.

finished Dandelion - tracing paper method

Here's the finished Dandelion - the tracing paper did help me stitch those knots more carefully. The only drawback was of course, when I removed the tracing paper, several knots were pulled.

I think I'll do a combination of tracing paper and just eyeballing for the rest of the dandelions.

Trying some Pearlescent Effects floss

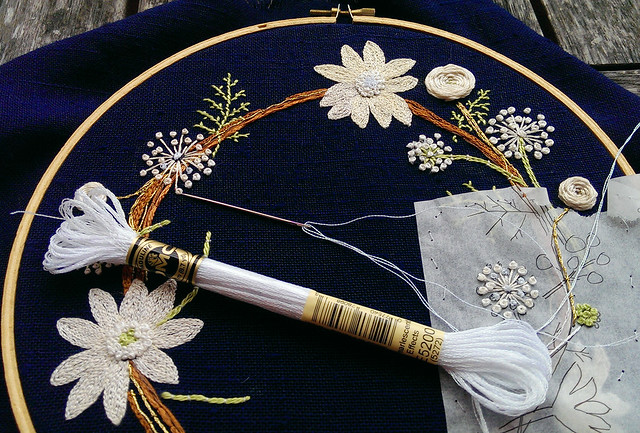
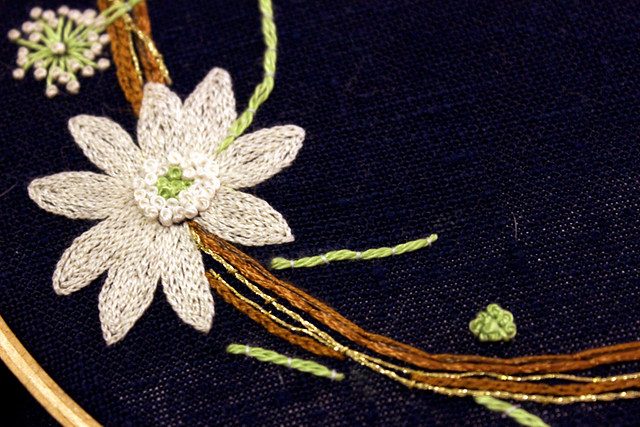
I tried some Pearlescent Effects floss on the French knots in the center of that large white flower. The texture is really rough, and it's not French-knot friendly, but it has a nice icy, iridescent look:

Pearlescent floss in the large flower center

Next, I added a line of gold metallic DMC floss, couched around the flower center:

Gold couched threads around the center

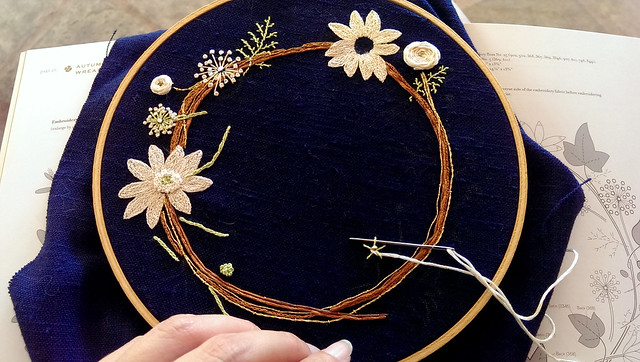
Here's all my progress so far - I'm still deciding if I'll add the berries.

Progress so far

Any thoughts on the tracing paper or Pearlescent floss? I'm curious if any of you have tried either!

Friday, August 26, 2016

Winter wreath progress

Add another small woven wheel rose

I'm having a great time progressing on this project - I'm embroidering a version of The Winter Wreath from Kazuko Aoki's book, The Embroidered Garden.

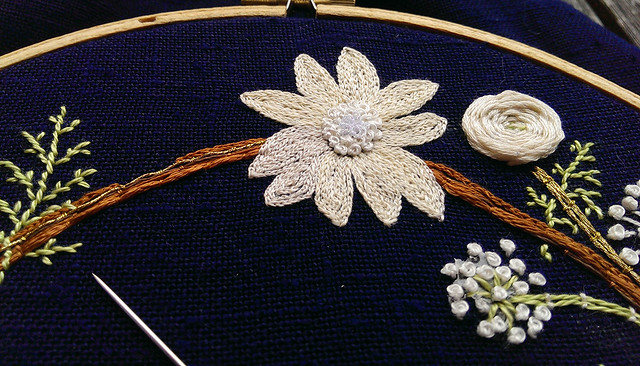
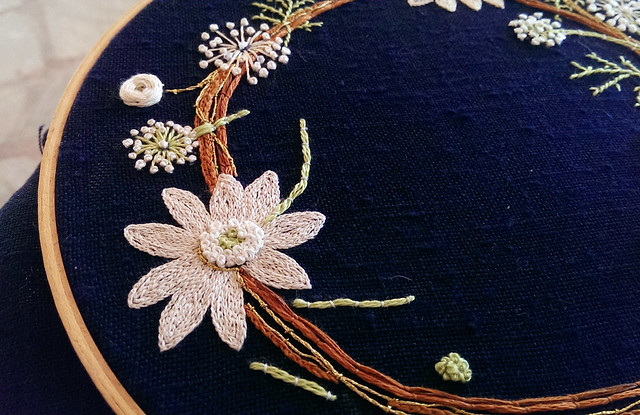
Detail on large white flower

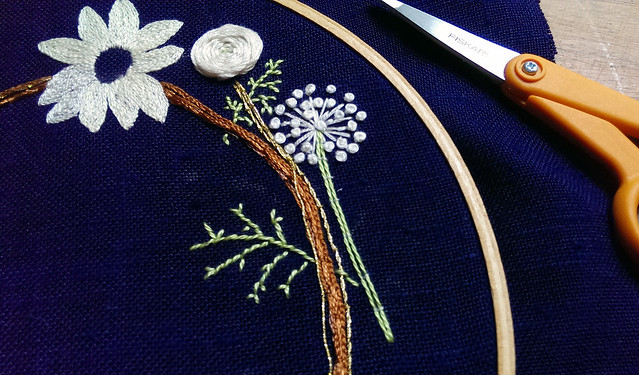
Up above is a closeup of one of the large white flowers. It's all done in split stitch, which is very-time consuming, but I do like the texture. Oh, and tons of little french knots in the center. The stems are two strands of vintage Nun's Boilproof floss, couched with a thin white sewing thread.

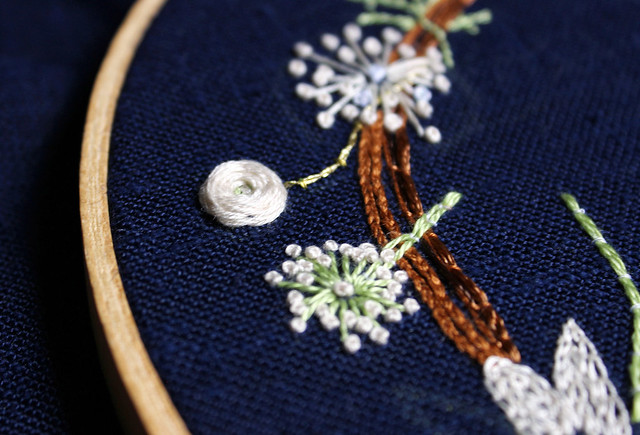
Closeup of tiny white rose

Here's a small woven wheel rose, and the round flowers made up of french knots - shall we call them dandelions? I'm least confident about my stitching on those, but we'll see how it progresses...

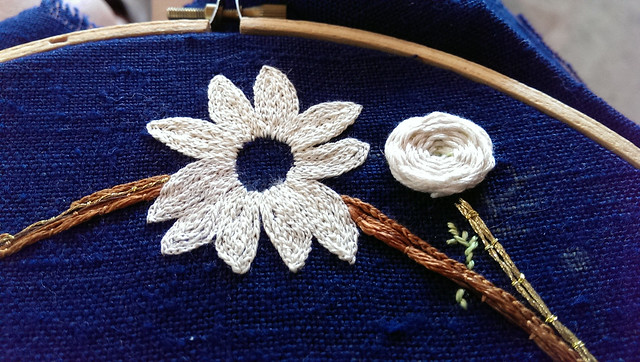
Closeup on the large white flowers

Another large white flower and a large woven wheel rose. The rose stems are couched gold DMC embroidery floss.

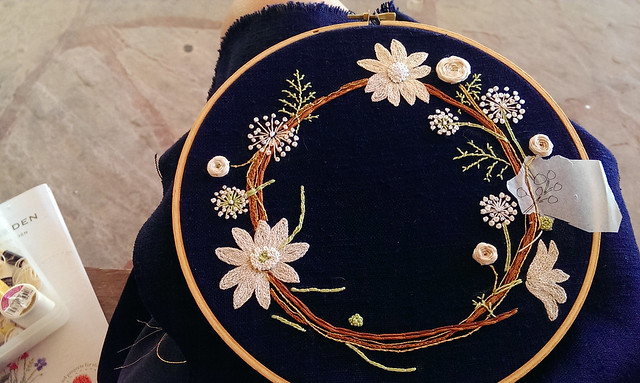
embroidering outdoors

I took this project outside and was delighted by how much better it looks in the light - it really captures the detail more.

I opened an Instagram account of my own this week - follow me @nyfloresita if you like! I also post on the Feeling Stitchy account to promote Feeling Stitchy blog posts, and Amy posts on Fridays.

A photo posted by floresita (@nyfloresita) on


There's such a wonderful community of stitchers on Instagram, and Flickr has really slowed down in terms of finding new stitching online. For now, I'll be maintaining both accounts, and we'll see what the future will bring!

Monday, August 22, 2016

Planning a book review

Planning a book review for Feeling Stitchy

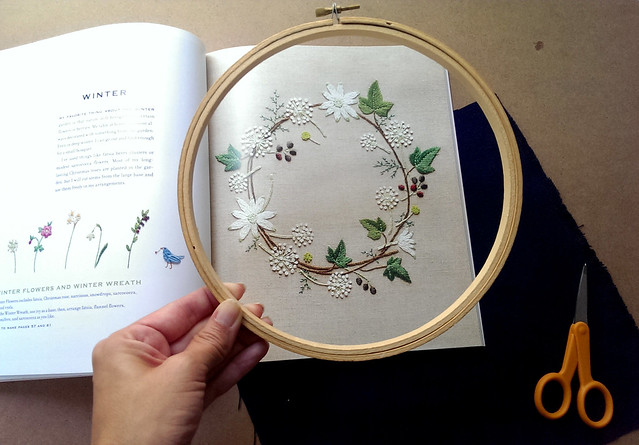
I've been remiss in doing a book review for Feeling Stitchy for a gorgeous book by Kazuko Aoki, The Embroidered Garden. I received the book some time ago from the publisher, and I finally got to work this weekend, gathering materials, and doing some planning and stitching. I chose the "Winter" wreath, which I intend to interpret freely, choosing my own fabrics and threads.

By the way, the book link takes you to Amazon, and contains code for the Feeling Stitchy Amazon account - if you buy a book through that link, we receive money in our account which is used to fund more giveaways and reviews on Feeling Stitchy. If you do buy there, thank you! If not, no worries! :)
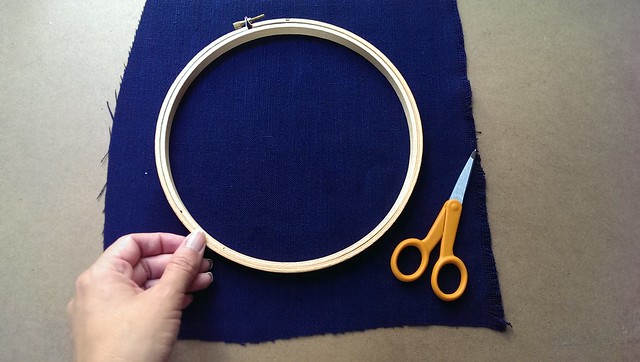
Step 1: fabric and hoop

My first step was choosing a fabric - and I was delighted to find a beautiful navy blue linen in my mother's fabric stash. I loved the idea of a strong contrast with the white flowers.
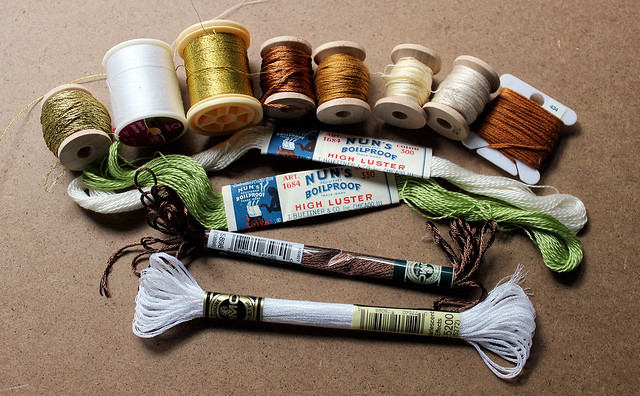
gathering threads

Next, I chose a handful of threads - my goal in this project is to buy nothing new, and use up some of my prodigious thread stash. :)

The final project will be a wedding gift, so I wanted to work in the wedding colors, one of which is gold. I had some beautiful DMC gold thread and gold metallic floss. I also had two skeins of super-shiny DMC rayon floss in a copper and darker brown shade that I wanted to use. Added to that were some off-white shades of 6 strand DMC floss, and some vintage threads I was gifted YEARS ago. :)
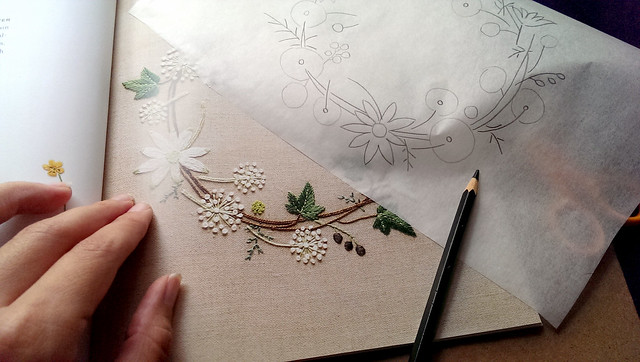
pretty texture

I traced the image directly from the photo in the book. I didn't focus on details, but just a general idea, and replaced the large green ivy leaves with circles for white roses.
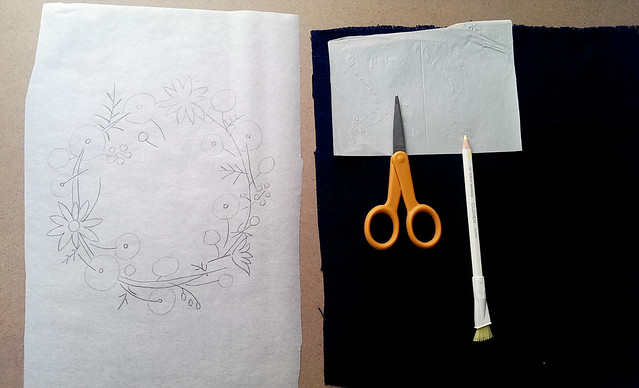
Next step: using white carbon paper and chalk pencil to transfer

Once I had my finished design, I used white carbon paper to transfer the image. The resulting image was very faint, so I traced over the white lines in a yellow Clover chalk pencil.
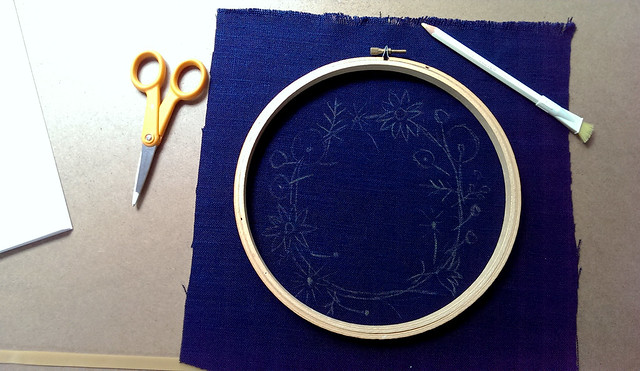
re-tracing over pattern

I first stitched the branches with a combination of regular DMC floss, and couched lines of rayon floss, which gave the branches a really pretty sheen in the light.
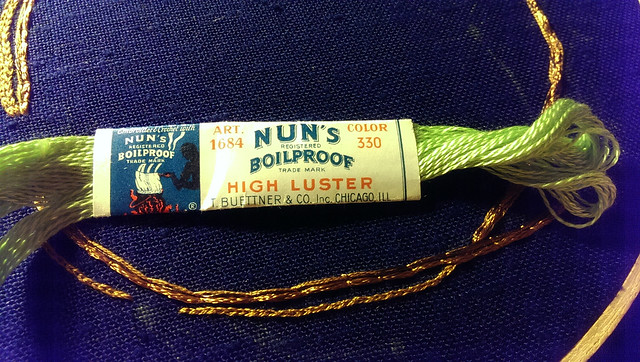
Interesting vintage thread

I was fascinated by the two Nun's Boilproof skeins I had - they look like a very thin perle cotton, but are SO very soft to the touch. They piqued my curiosity and I found this blog post about them.
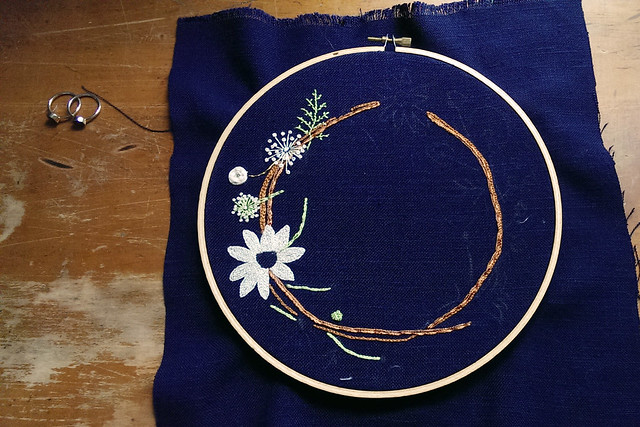
After split stitch on large flower

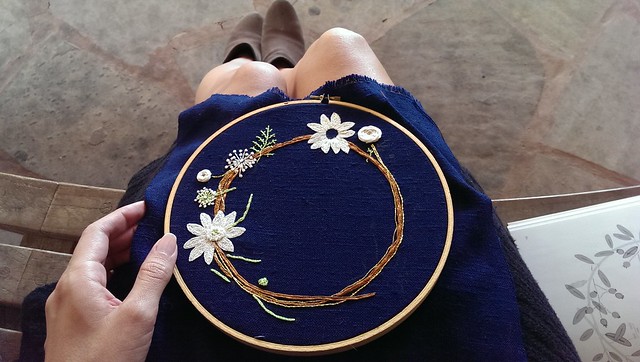
Here it was after at least 12 hours of stitching. The filling for the large white flower was the most time-consuming - tiny split stitch, using 3 strands of floss, but it was worth it - the texture is so nice!
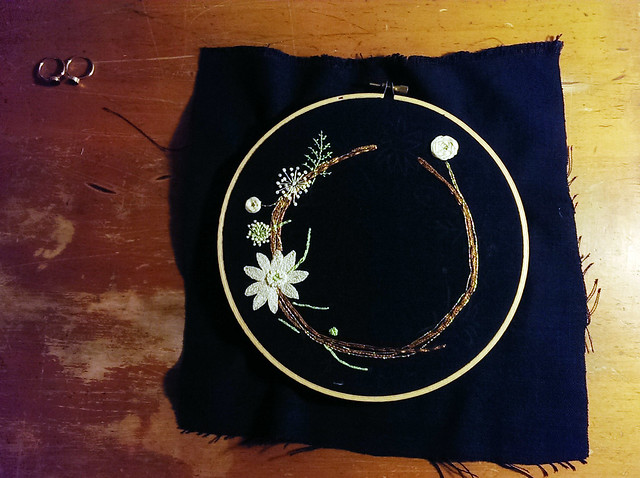
later progress

Next, I added french knots to the center of the large white flower, a large white rose, gold stems for the roses, and couched gold strands throughout the branches.

Here's a sideview of the work so far, which shows off the rayon threads and texture pretty nicely:
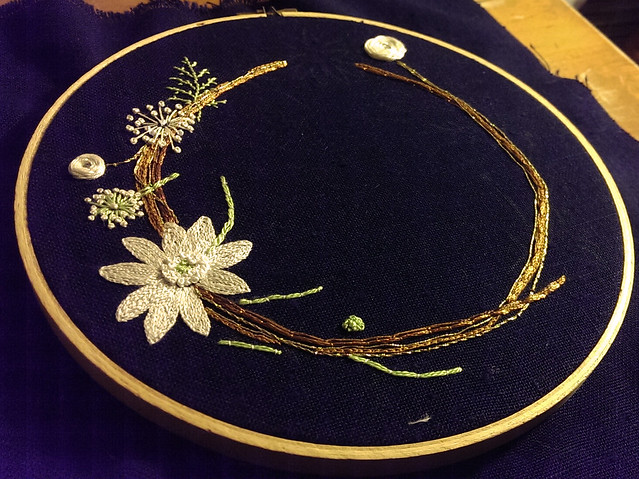
detail view of my progress

This project was slow to start, and a little intimidating, but I am enjoying it so far! What do you think?